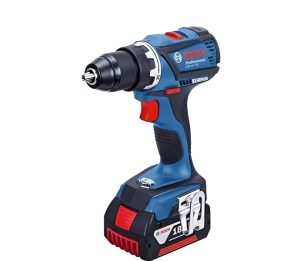
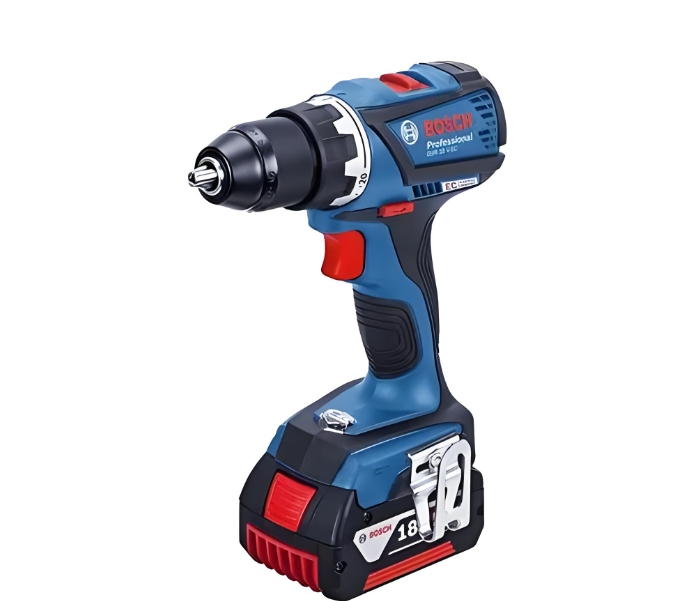
Disassembling a Bosch 18V cordless drill can be a straightforward task if you follow the correct steps and use the right tools. Here is a comprehensive guide on how to disassemble a Bosch 18V cordless drill:
Tools and Materials Needed:
- Screwdrivers: Phillips and flathead screwdrivers of various sizes.
- Hex keys: Also known as Allen wrenches.
- Needle-nose pliers: For gripping small components.
- Pry tool: A plastic pry tool to open the casing without damaging it.
- Work gloves: To protect your hands.
- Safety glasses: To protect your eyes from debris.
- Magnet tray: To keep screws and small parts from getting lost.
- Multimeter: For checking electrical components if needed.
Safety Precautions:
- Disconnect the Battery: Always remove the battery before starting the disassembly to avoid accidental operation and electrical hazards.
- Work in a Clean Area: Ensure your workspace is clean and well-lit to keep track of small components.
- Use the Right Tools: Using the correct tools will prevent damage to the drill and injury to yourself.

Step-by-Step Disassembly Guide:
1. Removing the Battery:
- Locate the battery release buttons on either side of the drill handle.
- Press the buttons and slide the battery out of the drill.
2. Removing the Chuck:
- Manual Chuck: If your drill has a manual chuck, open it completely to expose the retaining screw inside.
- Retaining Screw: This screw typically has a reverse (left-hand) thread, so turn it clockwise to remove it.
- Chuck Removal: Once the screw is removed, hold the drill firmly and rotate the chuck counterclockwise to unscrew it from the drill spindle.
3. Disassembling the Housing:
- Removing Screws: Locate and remove all the screws holding the two halves of the drill housing together. These are usually Phillips screws.
- Pry Tool: Use a plastic pry tool to gently separate the two halves of the housing. Start at one end and work your way around the drill to avoid cracking the plastic.
- Opening the Housing: Once all screws are removed and the casing is pried apart, carefully lift off the top half of the housing. Pay attention to any internal components that might be loosely attached.
4. Accessing the Internal Components:
- Motor and Gearbox: The motor and gearbox are usually the largest components inside the drill. Carefully lift these out of the housing.
- Switch and Wiring: The trigger switch and wiring harness are also located inside. Take note of the wiring connections or take a picture for reference before disconnecting any wires.
- Battery Contacts: These are typically located at the base of the handle. Make sure to note their orientation and connections.
5. Removing the Motor:
- Motor Connections: Disconnect any wires connected to the motor. These might be soldered or attached with connectors.
- Motor Mounting: The motor is usually secured to the gearbox with screws. Remove these screws to separate the motor from the gearbox.
6. Disassembling the Gearbox:
- Gearbox Housing: The gearbox is often enclosed in a separate casing. Remove any screws holding this casing together.
- Gears: Carefully separate the gearbox casing to access the internal gears. Take note of the arrangement of the gears and any spacers or washers.
- Lubrication: The gears are usually lubricated with grease. Handle them carefully to avoid getting grease on other components.
7. Cleaning and Inspection:
- Clean Components: Use a clean cloth to wipe down all components. Avoid using water or harsh chemicals that could damage the parts.
- Inspect for Damage: Check for any signs of wear or damage, particularly on the gears, motor brushes, and wiring.
- Replace Parts if Needed: If any parts are damaged, replace them with genuine Bosch replacement parts.
8. Reassembling the Drill:
- Reassemble Gearbox: Reassemble the gearbox by placing the gears back in their original positions and securing the gearbox casing with screws.
- Reconnect Motor: Attach the motor back to the gearbox and reconnect any wires. Ensure all connections are secure.
- Replace Internal Components: Place the motor and gearbox back into the drill housing. Reconnect the switch and wiring harness, ensuring all connections match the reference you took earlier.
- Close Housing: Align the two halves of the drill housing and press them together. Ensure all internal components are seated properly before closing the housing.
- Secure with Screws: Replace all the screws to secure the housing together.
- Reattach Chuck: Screw the chuck back onto the spindle and replace the retaining screw, turning it counterclockwise to tighten.
- Reinsert Battery: Slide the battery back into place until it clicks securely.
Final Checks:
- Function Test: Reinsert the battery and test the drill to ensure it operates correctly. Check for smooth operation of the chuck, trigger, and variable speeds.
- Noise and Vibration: Listen for any unusual noises or excessive vibration, which might indicate misalignment or improper assembly.
- Battery Fit: Ensure the battery fits securely and the contacts are connecting properly.
Troubleshooting Tips:
- If the Drill Does Not Operate: Check all electrical connections and ensure the battery is fully charged.
- If the Chuck Wobbles: Ensure the chuck is screwed on tightly and the spindle is not damaged.
- If the Drill Overheats: Check for obstructions in the ventilation slots and ensure the motor is not overworked.
Disassembling a Bosch 18V cordless drill requires patience and attention to detail. By following these steps, you can safely and effectively disassemble, clean, inspect, and reassemble your drill, ensuring it continues to function efficiently. Always refer to the manufacturer’s manual for specific details related to your drill model.

