Our Location
304 North Cardinal St.
Dorchester Center, MA 02124
304 North Cardinal St.
Dorchester Center, MA 02124
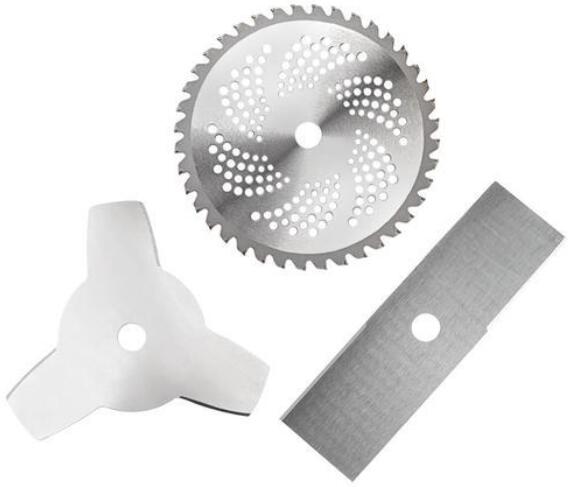
How to install lawn mower blades
The steps to install a lawn mower blade usually include the following key links:
Turn off the power or remove the spark plug wire. To ensure safety, turn off the power to the mower or remove the spark plug wire before starting.
Place the lawnmower. Place the mower on flat ground or, if it is a self-propelled mower, on its back to facilitate installation of the blades.
Remove the old blade. Use a wrench or pliers to remove the old blade nut, this may take some force so make sure you use the correct tool.
Clean the bottom of the lawnmower. Before installing a new blade, clean the bottom of the lawnmower of debris and grass clippings to ensure a clean installation environment.
Install the new blade. Align the new blade with the clamping plate at the bottom of the lawnmower, making sure the blade’s chamfer is in the correct direction, then press the blade firmly with your hands and tighten it with the nut.
Tighten the nut. Use a wrench or torque wrench to turn the blade nut counterclockwise to secure the new blade. Note that the tightening torque of the nut is usually between 30 and 40Nm.
Check the installation. Make sure the blade is securely installed. You can gently pull the blade to check if it is loose.
Start checking. Reconnect the spark plug wire or turn off the power, turn the mower on, and check that the blades are operating properly.
Please note that different models of lawn mowers may have different installation steps and requirements, so the specific user manual or manufacturer’s guidance should be consulted during installation. Also, be sure to use the correct blade for your model of lawn mower, and inspect the blades for cracks or rust before installation.
